Hello, fellow yarn lovers! Get ready to dive into the cozy, autumnal spirit with our incredibly adorable Free Crochet Pumpkin Pattern! This little guy is more than just a craft project; he’s a burst of sunshine and a hug of warmth, perfect for adding a touch of handmade charm to your home.
Imagine a perfectly plump, textured pumpkin, ready to sit proudly on your mantelpiece, windowsill, or even as a delightful desk companion. Its soft, crocheted form is incredibly satisfying to create, and the results are simply darling!
This pattern is an absolute dream for beginners eager to try their hand at creating something truly special, and it makes for the sweetest, most thoughtful handmade gifts. Plus, think of the delightful home decor possibilities! We’ll guide you through every single stitch with our easy-to-follow tutorial and a helpful video, ensuring you’ll be crocheting your way to pumpkin perfection in no time. Let’s get crafting!
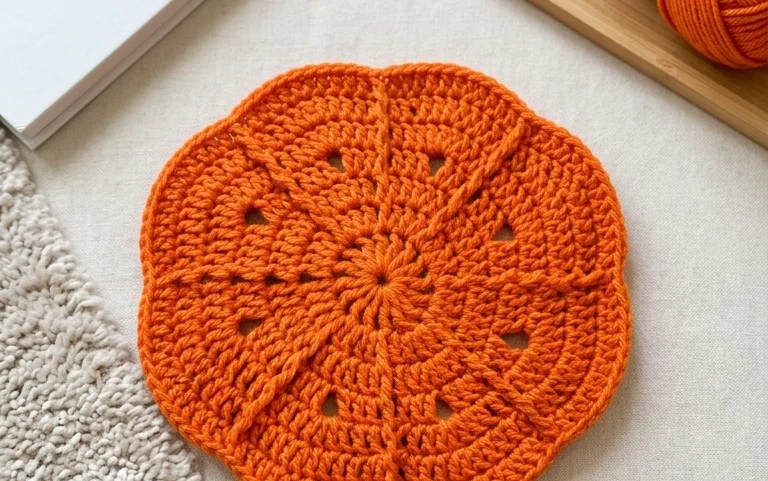
Your New Favorite Fall Friend: The Cutest Crochet Pumpkin Free Pattern!
As the leaves begin to paint our world in vibrant hues of red, orange, and gold, there’s a certain cozy magic that settles into our crafty hearts. And what says “fall” more than a plump, cuddly crochet pumpkin? If you’ve been dreaming of adorning your home with these adorable creations, you’re in luck! We’re diving deep into the delightful world of the Cutest Crochet Pumpkin Free Pattern, your ultimate guide to stitching up a harvest of handmade happiness. This tutorial, complete with a video companion, is designed to be accessible and enjoyable for crocheters of all skill levels, especially those just starting out on their yarny adventures.
Why You’ll Adore This Pattern
This isn’t just any crochet pumpkin pattern; it’s designed with cuteness and simplicity in mind. Whether you’re looking to create a single statement piece or a whole patch of pumpkins to scatter around your home, this pattern is your perfect starting point. It’s quick, satisfying, and results in an undeniably charming finished product that will bring a smile to your face every time you see it.
Getting Started: Yarn and Hook Recommendations
The foundation of any successful crochet project lies in choosing the right materials. For our Cutest Crochet Pumpkin, we want something that gives a nice, firm fabric without being too stiff, and that showcases the yarn’s texture beautifully.
Yarn Choices:
Worsted Weight Yarn: This is your go-to for this pattern. Worsted weight yarn (often labeled as category 4) is readily available, works up at a good pace, and creates a wonderfully squishy pumpkin.
Fiber Content: Acrylic yarn is a fantastic and affordable choice. It’s durable, washable, and comes in a vast array of colors. Cotton or cotton blends can also work, offering a slightly different drape and texture.
Colors: Of course, the classic pumpkin orange is a must-have! But don’t stop there! Consider creams, whites, deep reds, even variegated yarns for a unique look. For the stem, a brown or dark green is traditional.
Yardage: You won’t need a huge amount of yarn per pumpkin. Typically, one skein of worsted weight yarn in your main color will yield several pumpkins, depending on their size.
Hook Size:
Recommended Hook: A hook size between 4.5mm (US 7) and 5.5mm (US I/9) is generally recommended for worsted weight yarn when aiming for a slightly tighter gauge for amigurumi-style projects like this pumpkin.
Experimentation is Key: The exact hook size can depend on your personal tension and the specific yarn you choose. It’s always a good idea to crochet a small test swatch to see if your stitches are tight enough to prevent stuffing from showing through. If you can see too much, try a smaller hook; if it’s too stiff, go up a hook size.
Mastering the Stitches: The Heart of Your Pumpkin
This pattern utilizes some fundamental crochet stitches that are perfect for creating seamless, rounded shapes. Even if you’re a beginner, you’ll find these stitches easy to pick up.
Essential Stitch Techniques:
Magic Ring (or Magic Circle): This is crucial for starting your pumpkin without a visible hole in the center. It creates a tight, adjustable loop. If you’re new to this, don’t worry! There are plenty of video tutorials available online to guide you.
Single Crochet (sc): This is the primary stitch for building the body of your pumpkin. It creates a dense, sturdy fabric perfect for stuffed items.
Increase (inc): This stitch involves working two single crochet stitches into the same stitch from the previous round. It’s how we gradually increase the circumference of our pumpkin to create its round shape.
Decrease (dec): The opposite of an increase, a decrease stitch involves working two stitches together. This is used to gradually taper the top and bottom of your pumpkin. The invisible decrease is often preferred for a cleaner finish.
Slip Stitch (sl st): Used for joining rounds and creating a neat edge.
Working in the Round: This pattern is worked in continuous rounds, meaning you’ll keep crocheting in a spiral without joining at the end of each round. A stitch marker is essential to keep track of the beginning of each round.
Tips for Beginners: Making Your Crochet Journey Smooth
We’ve all been there – that moment of wondering if you’re doing it right! This pattern is designed to be beginner-friendly, but here are a few extra tips to make your experience even more enjoyable:
Watch the Video: Seriously, this is a game-changer! Seeing the stitches and techniques demonstrated visually can make all the difference, especially for the Magic Ring and decreases.
Use a Stitch Marker: This is non-negotiable when working in continuous rounds. It prevents you from losing your place and ensures even stitch counts.
Count Your Stitches: Especially in the early rounds, taking a moment to count your stitches after each round will save you a lot of frustration later. If your numbers are off, you’ll know immediately where to go back.
Don’t Be Afraid to Frog: “Frogging” is crochet slang for pulling out your stitches. It’s a normal part of the learning process. If you make a mistake, it’s okay to undo it and try again!
Consistent Tension: Try to maintain an even tension throughout your work. This will result in a more uniform and professional-looking pumpkin.
Stuffing Technique: When stuffing, start with small amounts and distribute it evenly. You want a firm but still cuddly pumpkin, not one that’s hard as a rock or lumpy.
Unleash Your Creativity: Customizing Your Pumpkin Patch
The beauty of crochet is the endless potential for customization. This pattern is a fantastic base, but let your imagination run wild!
Color Play:
Beyond Orange: As mentioned, explore different shades of orange, from pale peach to deep rust. White, cream, and even a deep purple or grey can create sophisticated and unique pumpkins.
Stripes and Gradients: Carry over different colors in stripes for a playful look, or experiment with gradient yarns for a beautiful ombre effect.
Two-Tone Pumpkins: Crochet the top half in one color and the bottom half in another for a charming two-tone design.
Size Matters: Adjusting Your Pumpkin’s Dimensions
This pattern is easily adaptable to create pumpkins of various sizes:
Larger Pumpkins: To make a bigger pumpkin, simply continue increasing for a few more rounds before starting your decrease rounds. For example, if the pattern says to work in rounds until you have X stitches, you might add another round of increases and then continue.
Smaller Pumpkins: To make a smaller pumpkin, simply stop increasing earlier. You might skip a couple of increase rounds specified in the pattern.
Gauge Swatching: If you’re aiming for a specific size, swatching with your chosen yarn and hook is the best way to ensure you’re on track.
Adding the Finishing Touches:
The Stem: Experiment with different stem lengths and thicknesses. You can also add a little curl or twist to your stem for extra personality.
Embroidery Details: Use embroidery floss to add little details like eyes or a friendly smile for a jack-o’-lantern, or simply to create stitch lines for a more realistic pumpkin look.
Leaves and Vines: Crochet small leaves and attach them to the stem for an extra decorative touch.
Caring for Your Crochet Creations
Once your adorable pumpkin is complete, you’ll want to keep it looking its best. The care instructions will largely depend on the yarn you used.
Washing and Care:
Acrylic Yarn: Most acrylic yarns are machine washable and dryable. Check the yarn label for specific instructions. Generally, washing on a gentle cycle with cool water and tumble drying on low heat is recommended.
Cotton or Natural Fibers: These may require hand washing in cool water with a mild detergent. Lay flat to dry to prevent stretching.
Spot Cleaning: For minor dust or marks, a gentle spot clean with a damp cloth is often sufficient.
Stuffing: Be mindful of the stuffing when washing. If you use polyester fiberfill, it generally holds up well in the wash.
Beyond the Patch: Project Ideas for Your Crochet Pumpkins
These cute crochet pumpkins are incredibly versatile. Here are just a few ideas to get your creative juices flowing:
Home Decor: Scatter them on mantels, coffee tables, shelves, or windowsills. Create a festive centerpiece for your dining table.
Seasonal Gifts: They make thoughtful and handmade gifts for friends, family, or even as party favors.
Garlands: String several pumpkins together to create a charming fall garland.
Playtime Friends: For little ones, these soft pumpkins can become beloved play companions.
Mini Pumpkins: Crochet them in a smaller size to use as cute bowl fillers or to adorn Thanksgiving place settings.
Themed Baskets: Use them to fill a decorative basket for a fall-themed display.
With this Cutest Crochet Pumpkin Free Pattern, you have all the tools you need to create a charming collection of fall decor. So grab your hook, pick your favorite yarn, and let’s get crocheting! Happy stitching, and enjoy your wonderfully handmade harvest!
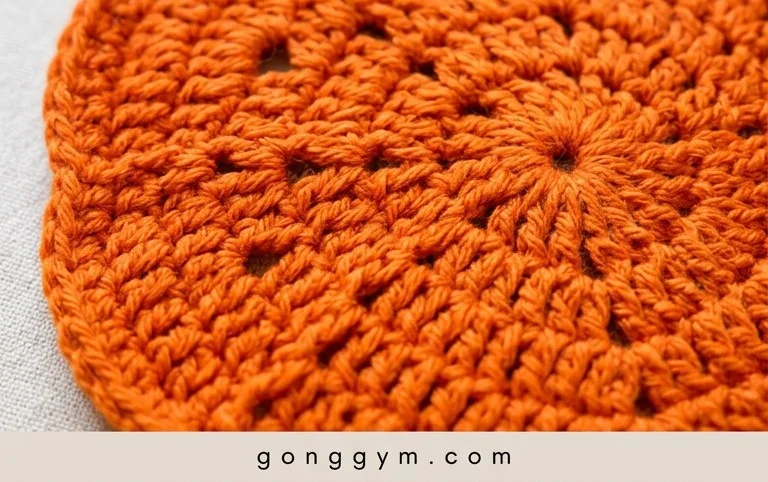
We hope you had a delightful time crocheting this adorable pumpkin! It’s such a quick and rewarding project, perfect for adding a touch of handmade charm to your autumn decor. Don’t be shy – give this pattern a try and experience the joy of creating something so cute!
We’d absolutely love to see your finished pumpkins! Feel free to share your creations on social media using the hashtag #CrochetCutePumpkins and tag us so we can admire your handiwork. Consider experimenting with different yarn colors for a rainbow of pumpkins, or adding a unique stitch for texture. And if you enjoyed this pattern, be sure to explore our other free crochet patterns for more crafting adventures!